Zoho CRM
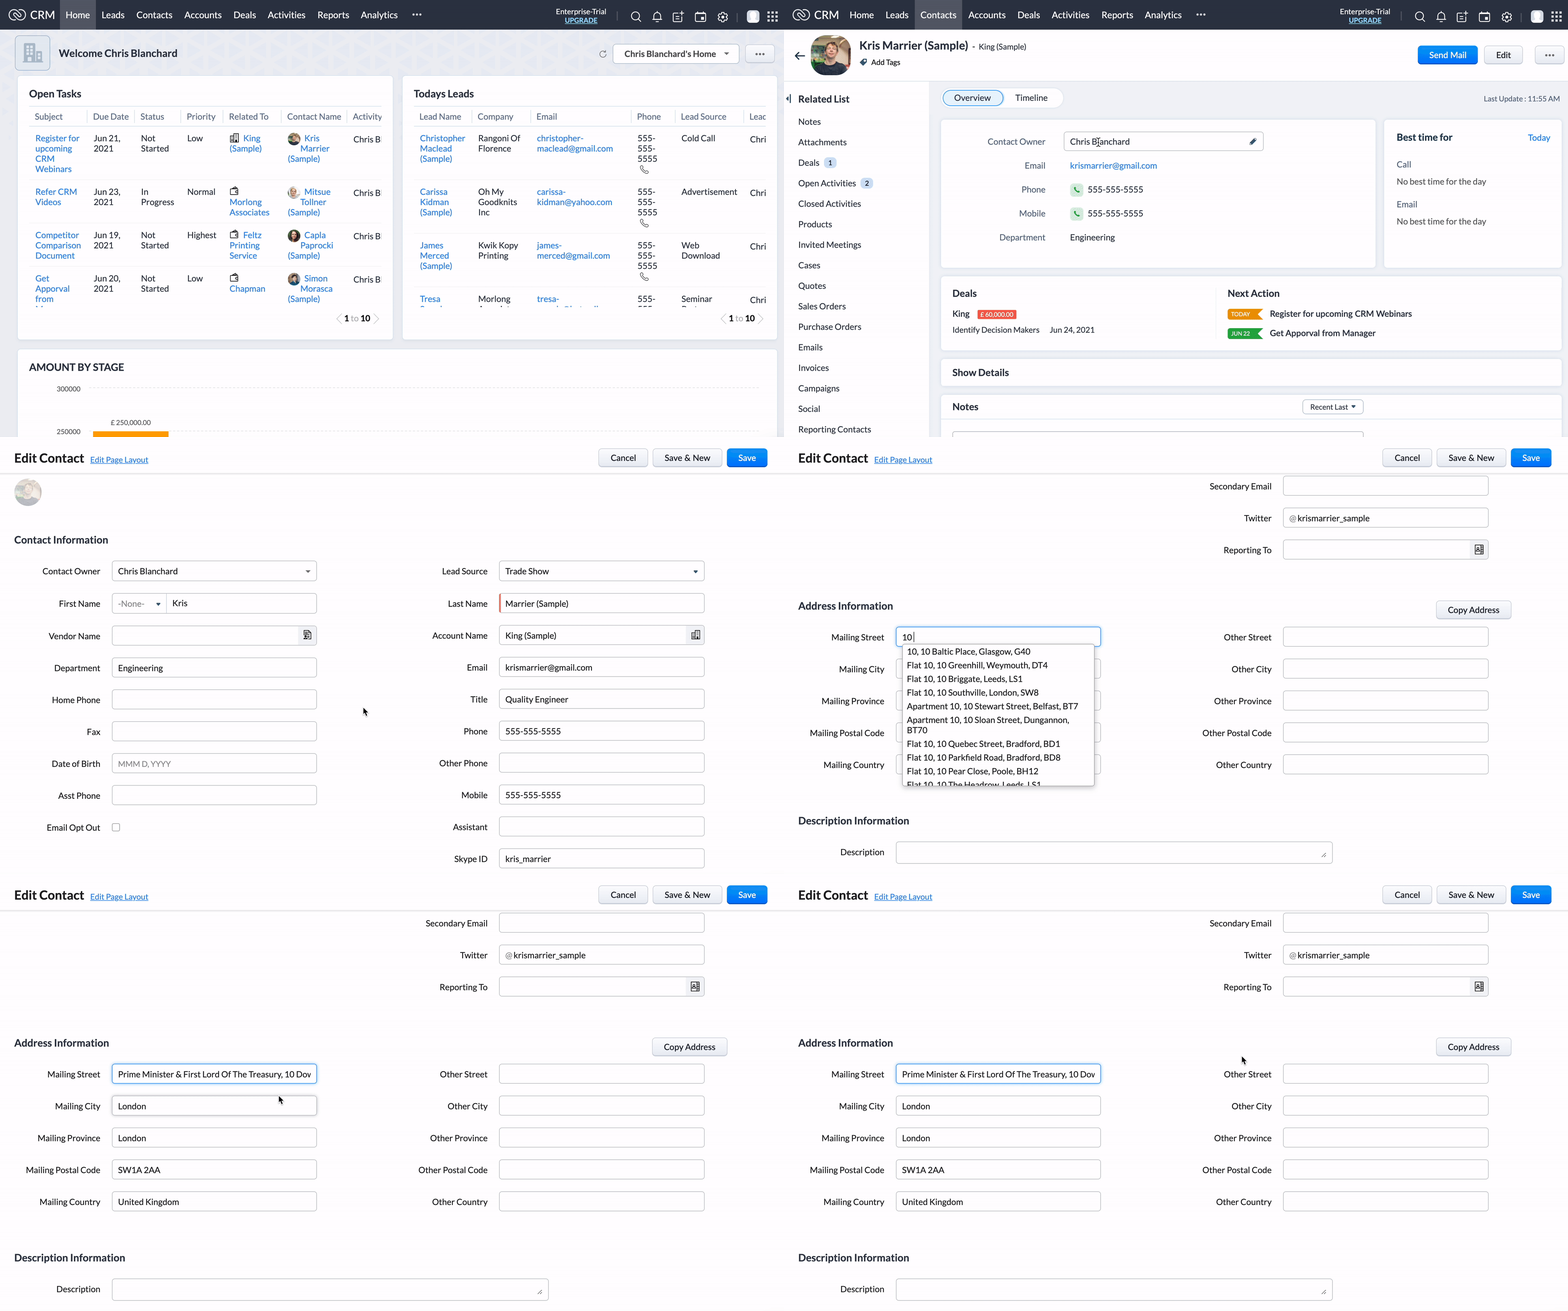
Add Address Lookup to Zoho CRM with our Browser Extension.
Features
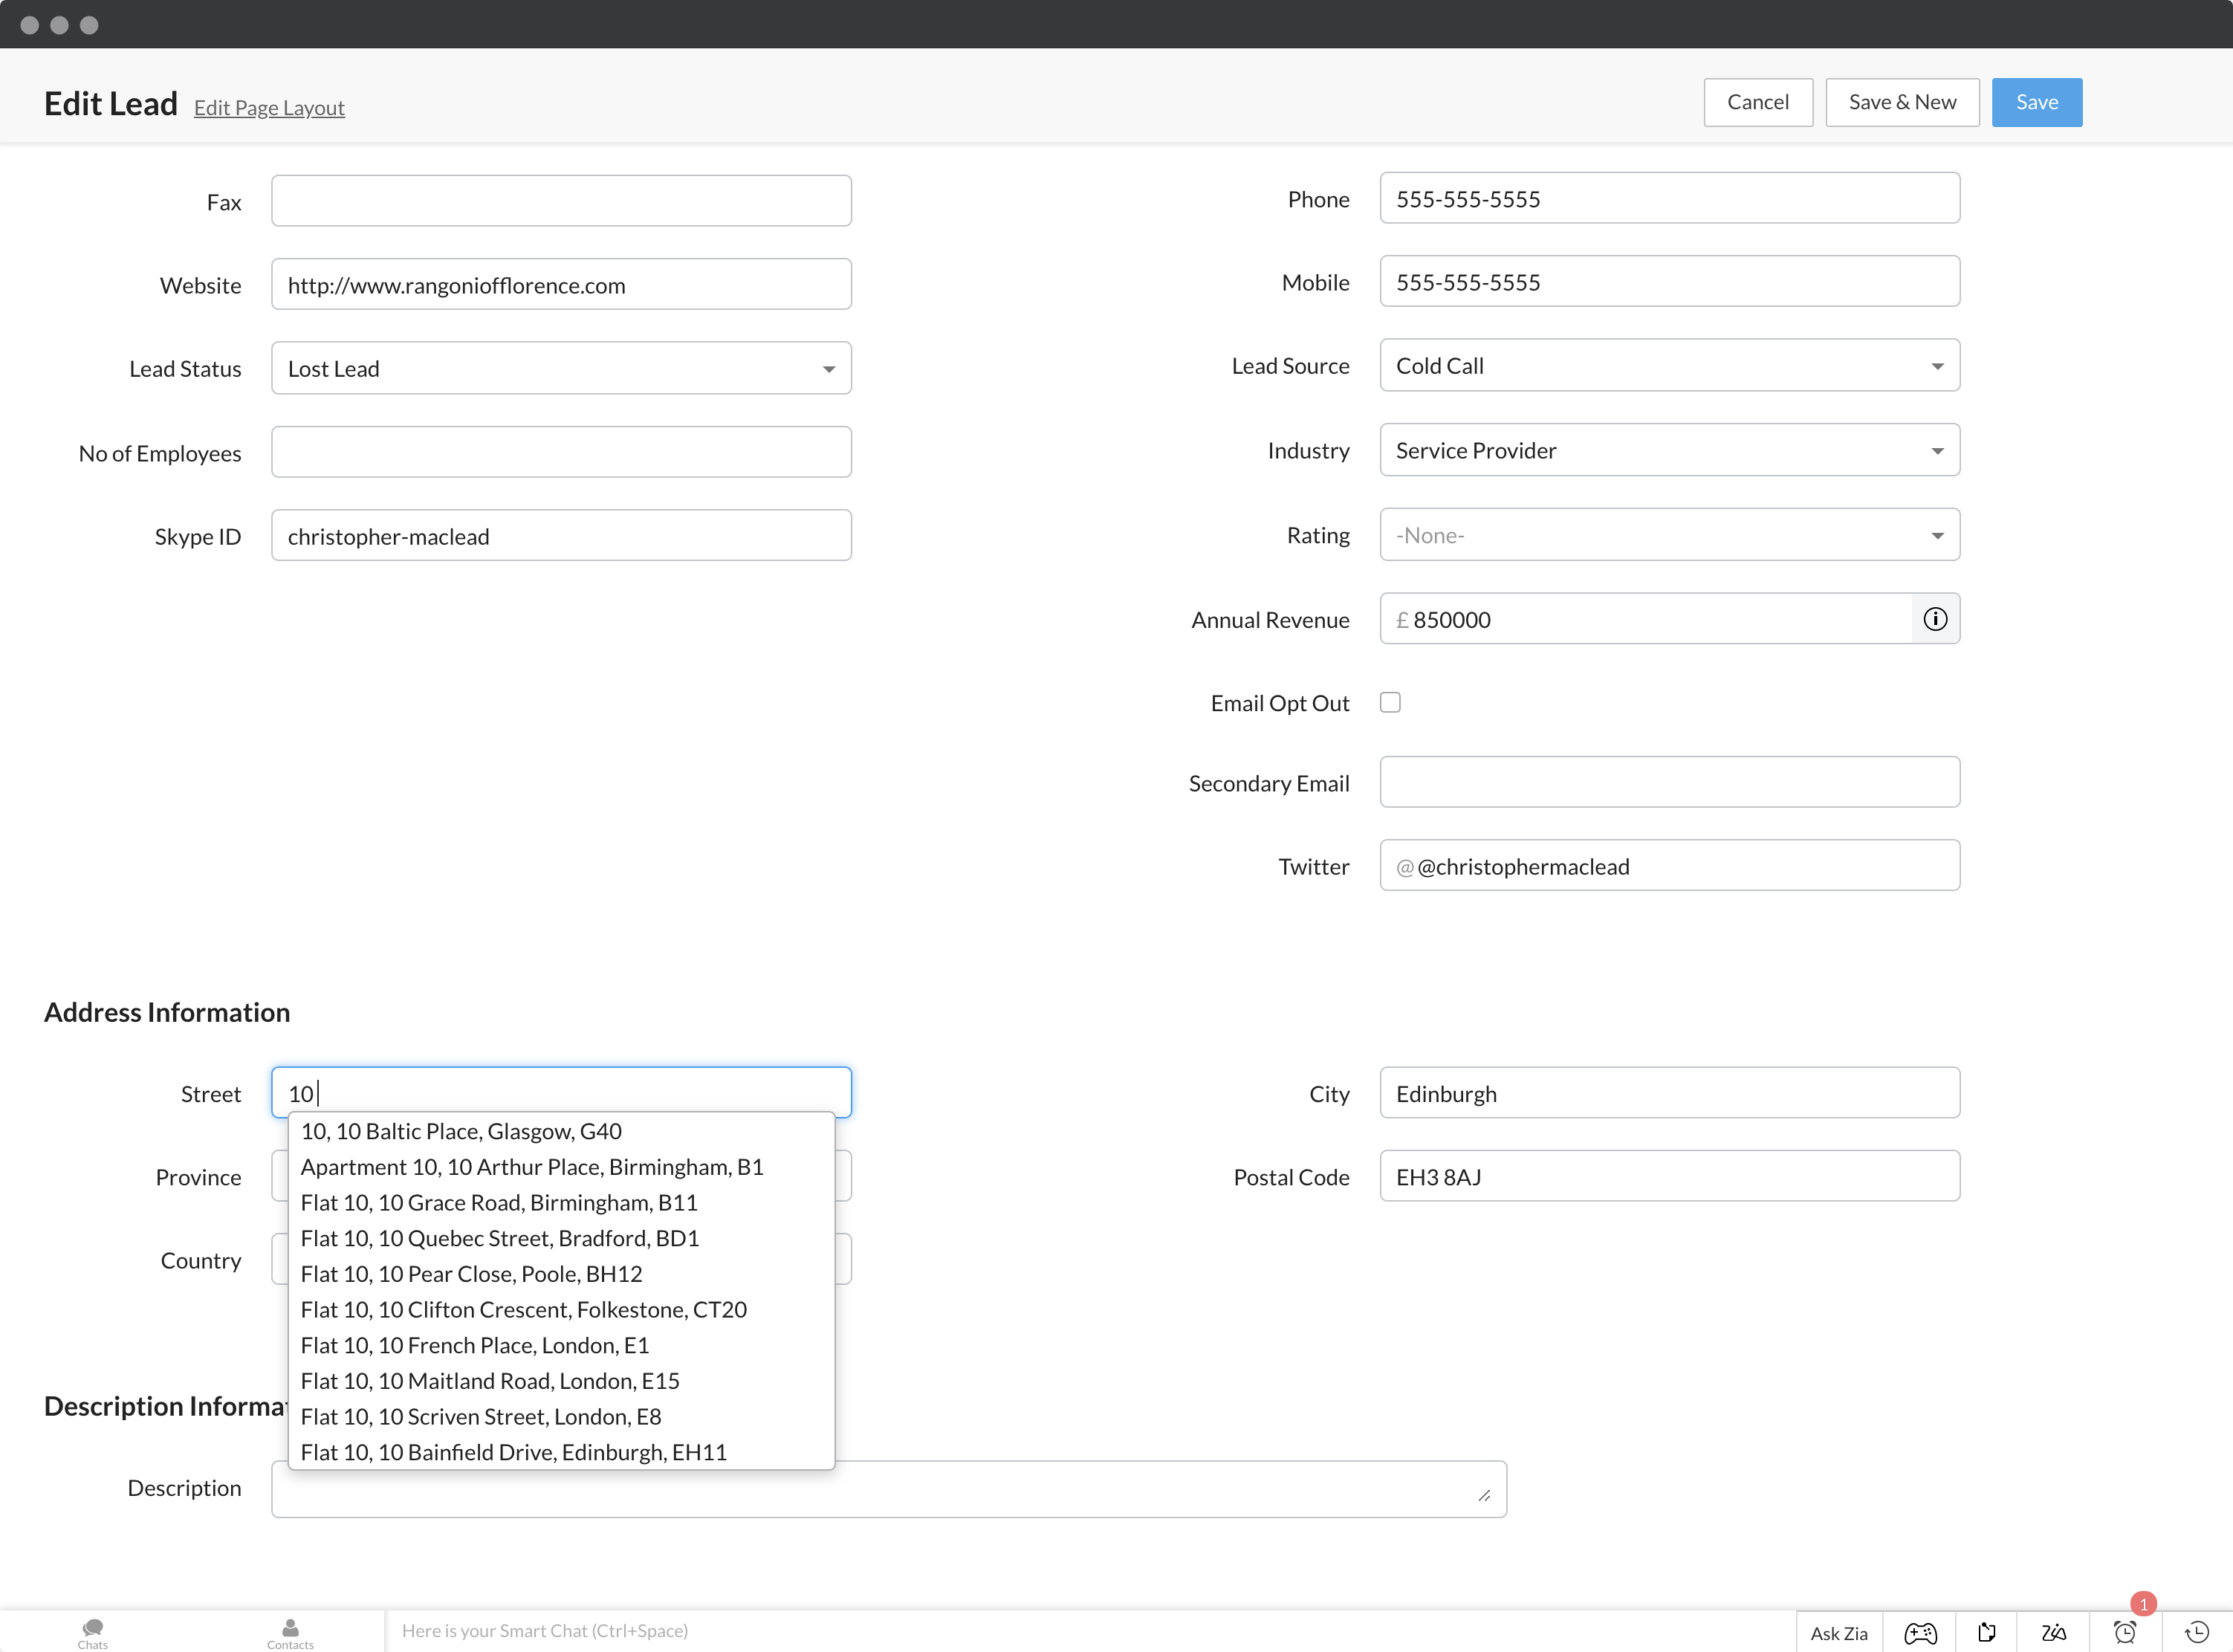
- Adds Address Lookup to Zoho CRM contacts and leads on Address Line One
- Allows for dynamic assignment of address fields if you have customized your Zoho address forms
If you need support, you can either reach out to us on our support page or drop by our developer chat page.
Screenshots
Installation
This integration uses the Ideal Postcodes Extension which can be downloaded from the Chrome or Firefox extension marketplaces.
See our Browser Extension guide for more information.
Configuration
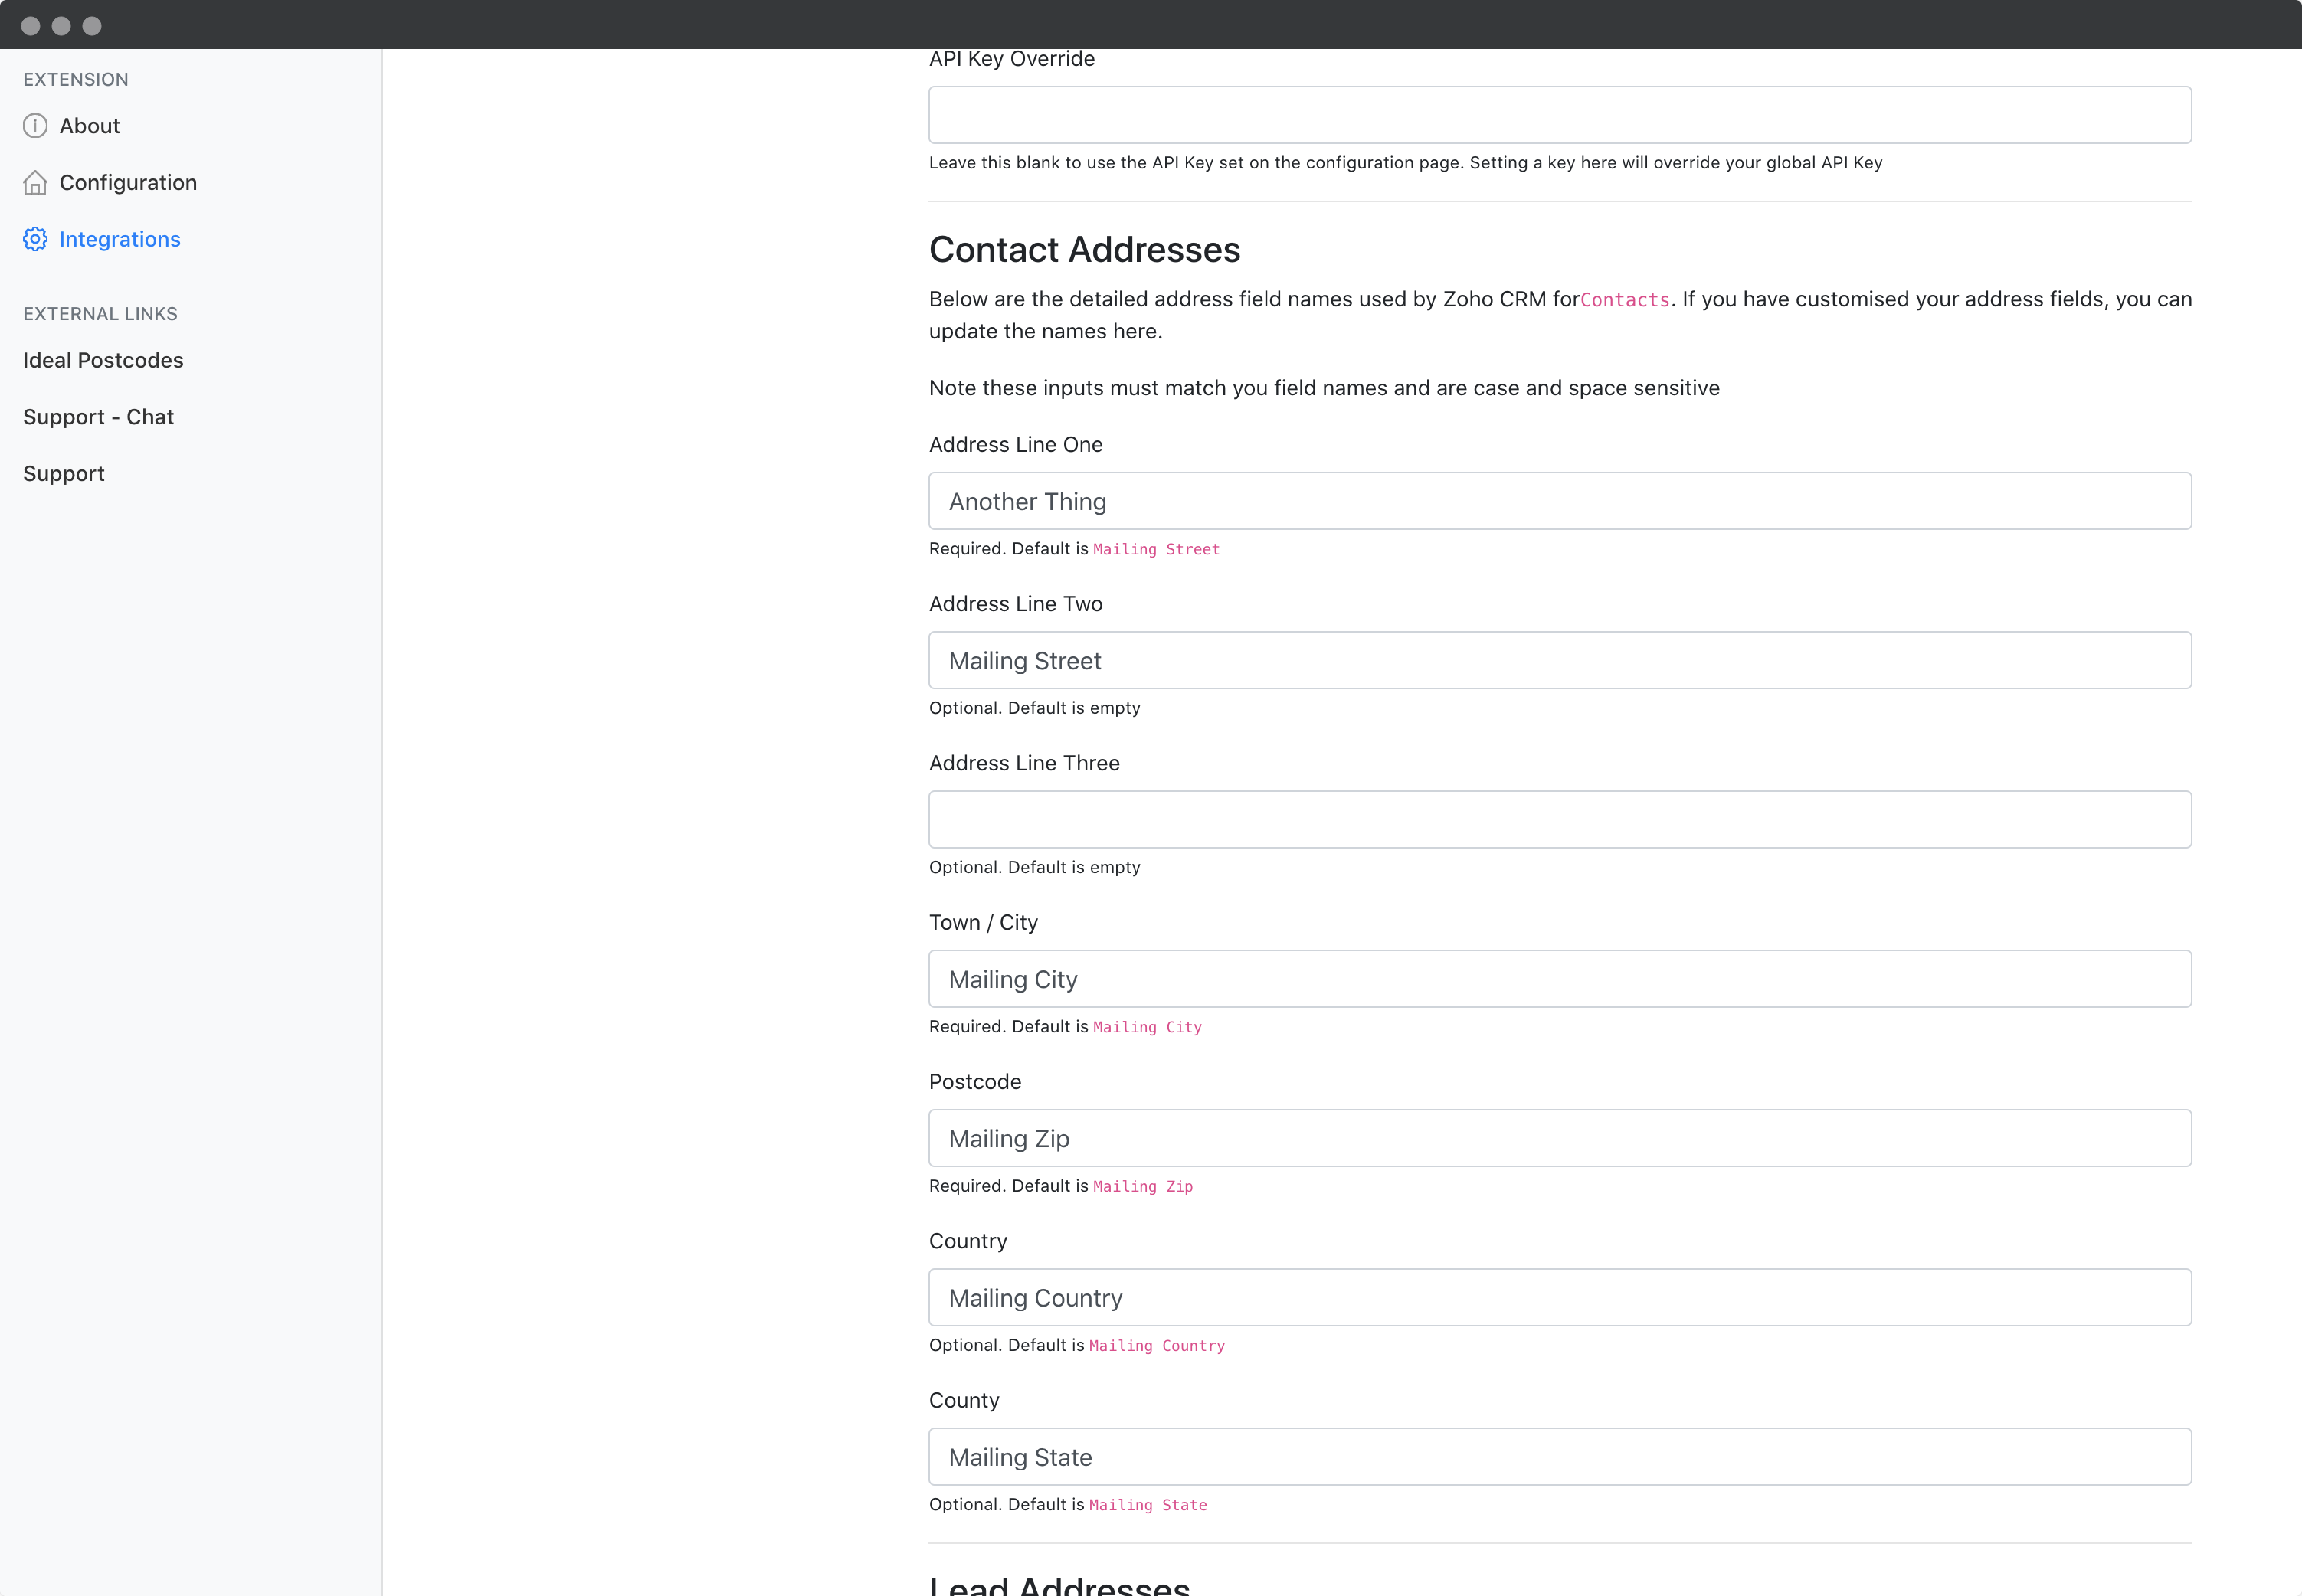
Configuring Zoho CRM integration may require extra steps if you have customized your address fields.
For each new field you have created or renamed, you may need to assign an address field to it.
For instance, the default first address line for a contact is Mailing Street. You may wish to change this to Address Lines or Address Line One. In that instance, you must enter the exact field name in the Address Line One configuration box.
Similarly, the default postcode line for a contact is Mailing Zip. If you have changed this to Postcode, you must update the Postcode field to Postcode.
Address Lookup will always be enabled on Address Line 1.
Configure Custom Address Fields
We've created an advanced input called Customed Address Fields (CAF). You can use this to
- Enable address validation on an entirely custom address form (i.e. not provided by Zoho CRM)
- Enable address validation on your form wizards
It requires you to specify the address targets, typically based on the ID of the input. CAFs are described with JSON, specifically an array of JSON objects. You may use the template below:
[
  {
    "line_1": "",
    "line_2": "",
    "line_3": "",
    "post_town": "",
    "postcode": "",
    "county": "",
    "country": ""
  }
]
For each address form you wish to enable, you will need to create a JSON object (i.e. the section of code beginning and ending with curly braces {}). Note that:
- Each object must be separated by the comma
- The
line_1,post_townandpostcodefields are required - Other fields not being used can be dropped
- The last line of a JSON object (e.g.
"country": ""above) cannot have a comma at the end - Check your CAF setup on jsonlint.com to make sure your syntax is valid
Each field needs to be assigned using an ID. This can be found by right-clicking on the input box in your address form or wizard, click "Inspect" and checking the id="" attribute of the highlighted HTML element.
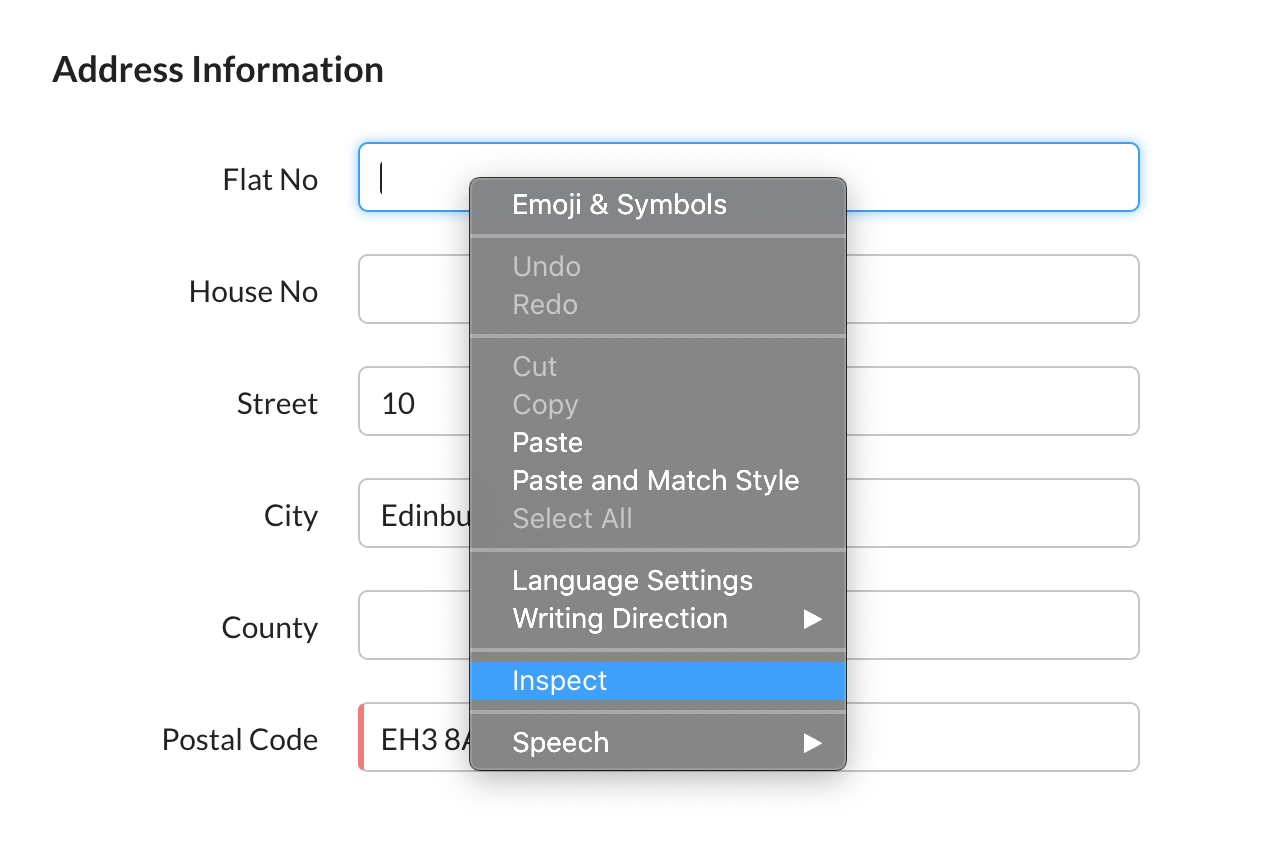

If the ID of your Address Line One reads id="Crm_Leads_LEADCF2", then line_1 entry of your custom address field should read "line_1": "#Crm_Leads_LEADCF2". Repeat this for all the address fields you are interested in.
Here's an example CAF configuration:
[
  {
     "line_1": "#Crm_Leads_LEADCF2",
     "post_town": "#Crm_Leads_CITY",
     "postcode": "#Crm_Leads_ZIP",
     "county": "#Crm_Leads_LEADCF3"
  },
  {
     "line_1": "#Crm_Accounts_Lane",
     "post_town": "#Crm_Accounts_Town",
     "postcode": "#Crm_Accounts_Postal_Code",
     "county": "#Crm_Accounts_County",
     "country": "#Crm_Accounts_Country"
  }
]
Custom Address Fields for Wizards
Identifying the ID of an input field is trickier for wizards. When you inspect a field, you will need to find the ID in the parent crm-create-fields element. Your ID entries will also need to be suffixed by input. For instance, if the ID for line_1 is Leads_fldRow_LANE, then that line should read "line_1": "#Leads_fldRow_LANE input".
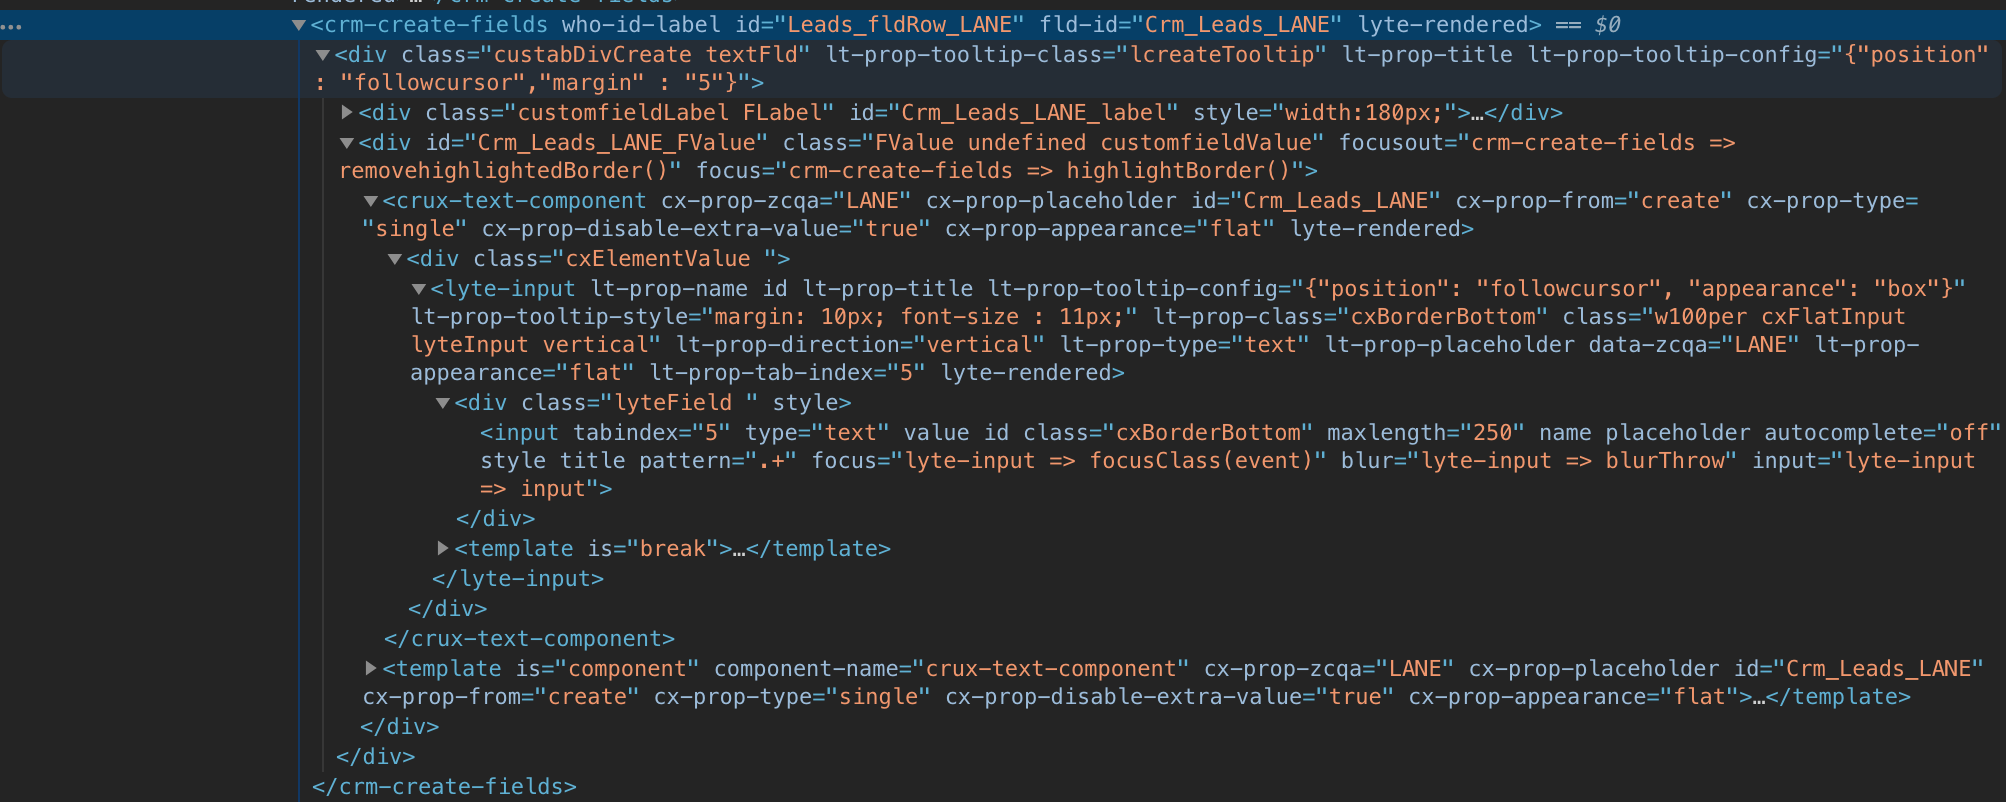
For example:
[
  {
    "line_1": "#Crm_Leads_LEADCF2 input",
    "post_town": "#Crm_Leads_CITY input",
    "postcode": "#Crm_Leads_ZIP input",
    "county": "#Crm_Leads_LEADCF3 input"
  }
]